CI/CD pipelines are like having a robot assistant for your deployments. In this post, I break down how automating builds and deployments saves time, reduces errors, and keeps your team sane. Walk through the project with step-by-step instructions on completing it.
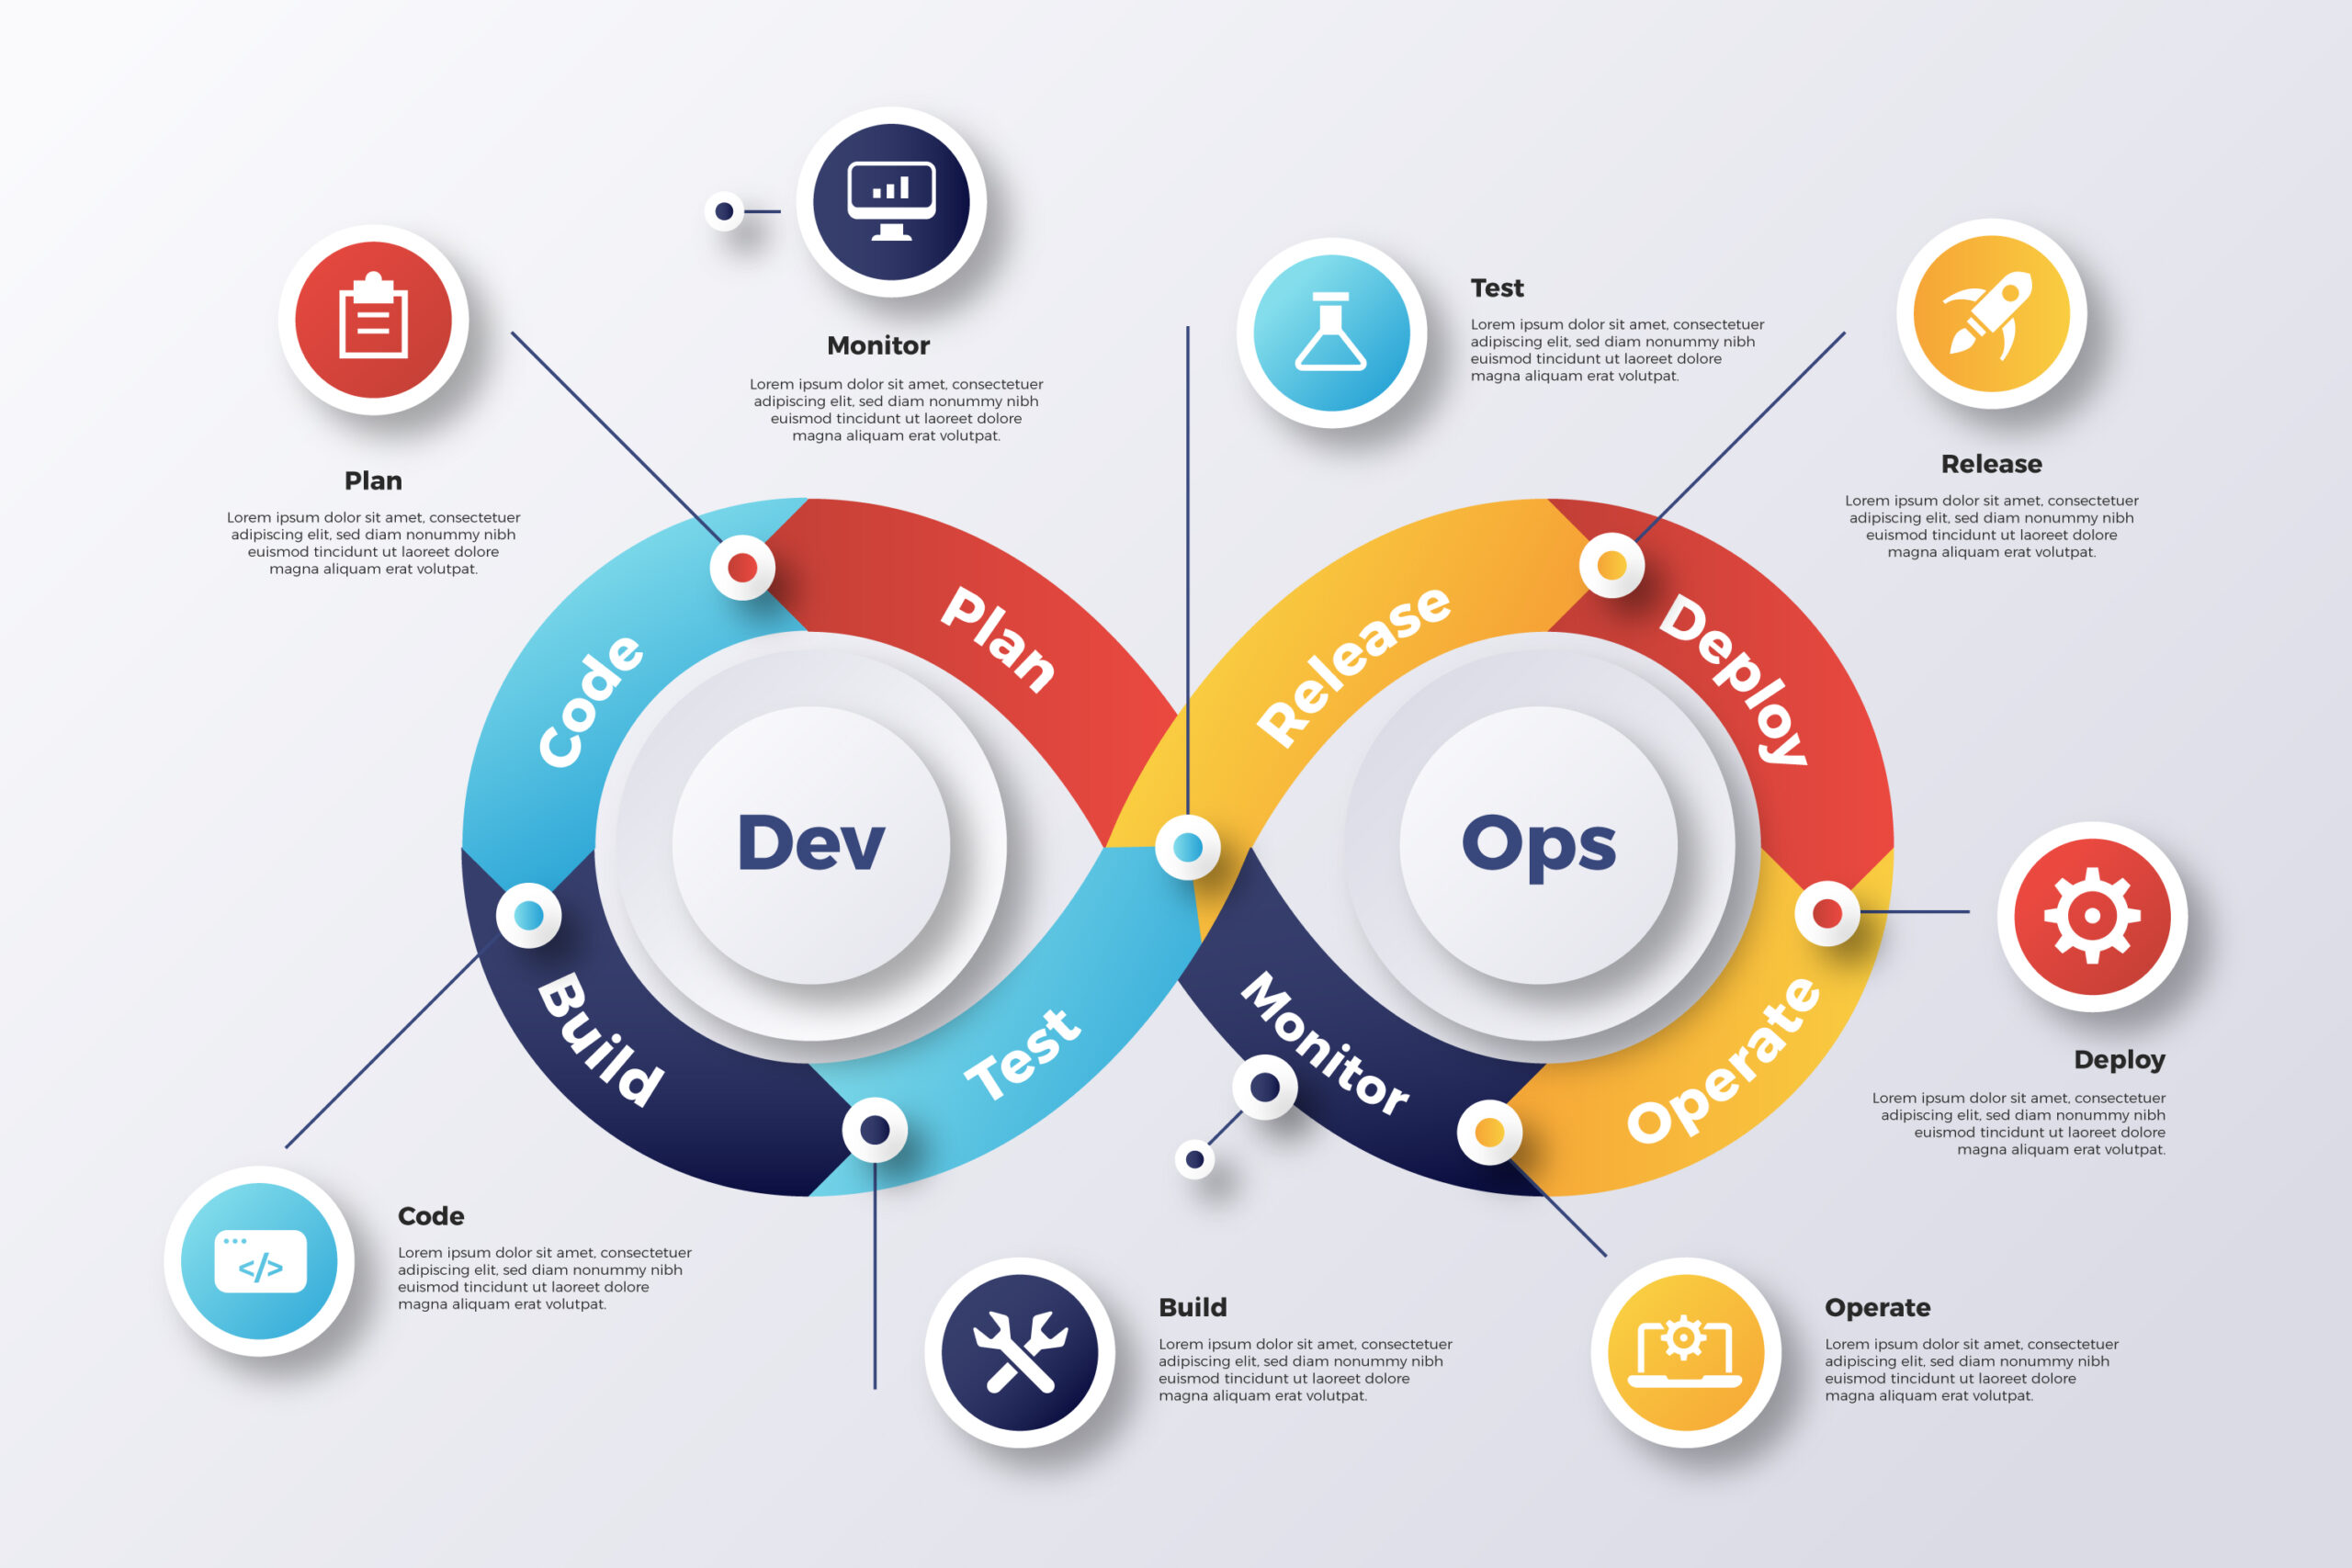
Continuous Integration and Continuous Deployment (CI/CD) pipelines streamline the software development process by automating the building, testing, and deployment of applications. In this blog, we’ll set up a CI/CD pipeline for a simple Flask application using Jenkins, Docker, and GitHub. We’ll also expose our local Jenkins instance to the Internet using ngrok to receive webhook triggers.
Table of Contents
- Prerequisites
- Creating the Flask Application
- Writing the Dockerfile
- Installing and Configuring Jenkins
- Creating a Jenkins Pipeline
- Setting Up GitHub Webhooks
- Exposing Jenkins to the Internet Using ngrok
- Configuring Firewall Rules
- Testing the Pipeline
- Conclusion
1. Prerequisites
Before starting, ensure you have the following installed on your system:
- Ubuntu Linux (VM or local machine)
- Python 3
- Git
- Docker
- Jenkins
- ngrok (for exposing Jenkins to the public)
2. Creating the Flask Application
Create a directory for your Flask app and the following files:
app.py
Copied!from flask import Flask app = Flask(__name__) @app.route('/') def home(): return "Hello, World! This is our CI/CD Pipeline demo." if __name__ == "__main__": app.run(host='0.0.0.0', port=5000)
requirements.txt
Copied!flask
3. Writing the Dockerfile
Create a Dockerfile to containerize the Flask application.
Dockerfile
Copied!FROM python:3.9 WORKDIR /app COPY requirements.txt . RUN pip install -r requirements.txt COPY app.py . EXPOSE 5000 CMD ["python", "app.py"]
4. Installing and Configuring Jenkins
Step 1: Install Jenkins
- Add the Jenkins repository and install Jenkins:
bash
Copied!wget -q -O - https://pkg.jenkins.io/debian/jenkins.io.key | sudo apt-key add - sudo sh -c 'echo deb http://pkg.jenkins.io/debian-stable binary/ > /etc/apt/sources.list.d/jenkins.list' sudo apt update sudo apt install jenkins -y
- Start and enable Jenkins:
Copied!sudo systemctl start jenkins sudo systemctl enable jenkins
-
Access Jenkins:
Open http://localhost:8080 and follow the instructions to unlock Jenkins.
5. Creating a Jenkins Pipeline
Step 1: Create a Jenkinsfile
Create a Jenkinsfile in your project root directory:
Copied!pipeline { agent any environment { DOCKER_IMAGE = "my-flask-app" DOCKER_TAG = "${env.BUILD_NUMBER}" } stages { stage('Checkout Code') { steps { git branch: 'main', url: 'https://github.com/yourusername/my-flask-app.git' } } stage('Build Docker Image') { steps { sh "docker build -t ${DOCKER_IMAGE}:${DOCKER_TAG} ." } } stage('Remove Existing Container') { steps { sh ''' docker ps -a | grep flask-app && docker stop flask-app && docker rm flask-app || true ''' } } stage('Run New Container') { steps { sh "docker run -d -p 5000:5000 --name flask-app ${DOCKER_IMAGE}:${DOCKER_TAG}" } } stage('Clean Up Old Images') { steps { sh "docker image prune -f" } } } post { success { echo 'Deployment succeeded!' } failure { echo 'Deployment failed. Please check the logs.' } } }
Step 2: Create a Pipeline Job in Jenkins
- Go to Jenkins Dashboard > New Item.
- Enter a job name (e.g., my-flask-app-pipeline).
- Select Pipeline and click OK.
- In the Pipeline section, set the Definition to Pipeline script from SCM.
- Add your Git repository URL and branch.
- Click Save.
6. Setting Up GitHub Webhooks
- Go to Your GitHub Repository > Settings > Webhooks.
- Click Add webhook.
- Payload URL:
vbnet
Copied!http://your-public-ngrok-url/github-webhook/
- Content type: application/json
- Select Just the push event.
- Click Add webhook.
7. Exposing Jenkins to the Internet Using ngrok
- Install ngrok:
bash
Copied!wget https://bin.equinox.io/c/bNyj1mQVY4c/ngrok-stable-linux-amd64.zip unzip ngrok-stable-linux-amd64.zip sudo mv ngrok /usr/local/bin
- Authenticate ngrok:
bash
Copied!ngrok config add-authtoken <YOUR_AUTH_TOKEN>
- Start ngrok:
bash
Copied!ngrok http 8080
- Copy the Public URL provided by ngrok and use it for the GitHub webhook.
8. Configuring Firewall Rules
For Ubuntu (ufw)
- Enable the firewall:
bash
Copied!sudo ufw enable
- Allow port 5000 (for Flask app):
bash
Copied!sudo ufw allow 5000
- Allow port 8080 (for Jenkins):
bash
Copied!sudo ufw allow 8080
9. Testing the Pipeline
- Make a Change in Your Flask App:
bash
Copied!git add app.py git commit -m "Test CI/CD pipeline" git push origin main
-
Check Jenkins:
The pipeline should trigger automatically, build the Docker image, and deploy the Flask app. -
Access the Flask App:
Open your browser and go to:
arduino
Copied!http://your-vm-ip:5000
10. Conclusion
Congratulations! 🎉 You have successfully set up a CI/CD pipeline for your Flask app using Jenkins, Docker, and GitHub. This setup ensures that every time you push changes to your GitHub repository, Jenkins automatically builds a new Docker image and deploys it. Using ngrok allows you to expose your local Jenkins instance to the public Internet for webhook integration.
This CI/CD pipeline can be extended to include automated testing, linting, and more advanced deployment strategies.
🔗 Check my GitHub repo for up-to-date codes.
Happy coding! 🚀
Leave a Reply